Lundy's Lane Redux
22nd December 2015
Final Session
The following photos represent the end state at 1120 hours, 26 July 1814.

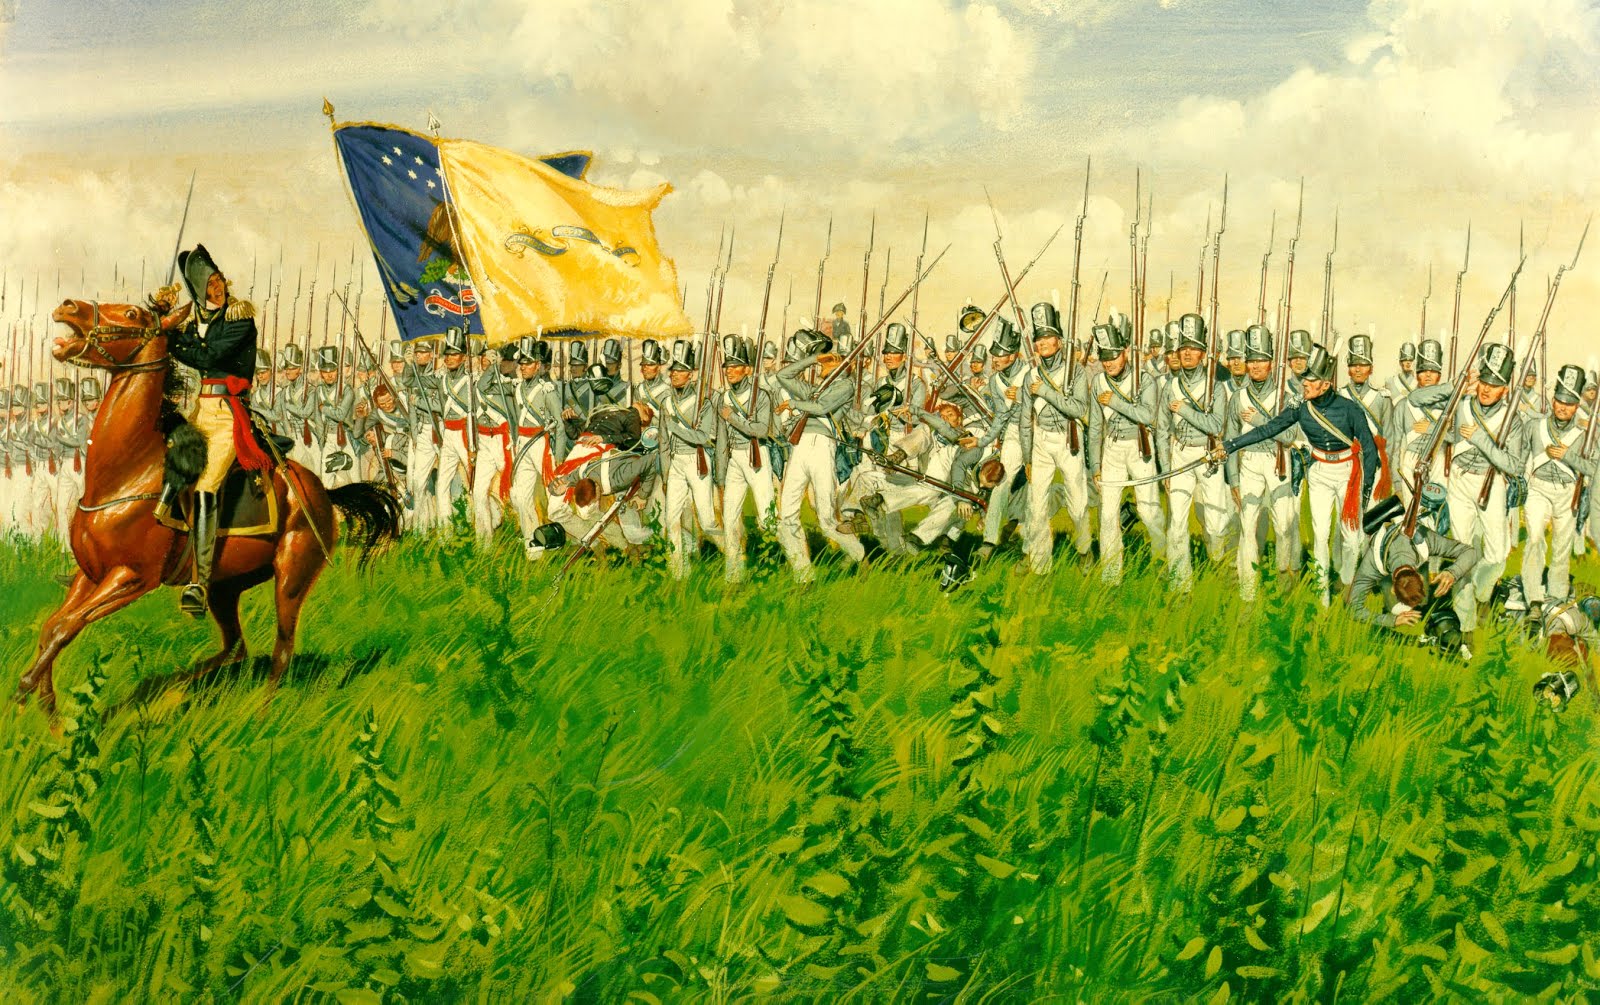
The formidable British 1st Brigade advanced steadily to keep within ENGAGEMENT range while Winfield Scott's First Brigade withdraws steadily. Bottom left; American skirmishers fire into the flank of the 2nd Militia Brigade (battalion) in an effort to keep the British brigade off balance.

The units of Scott's brigade are in a very fragile state. The only unit that prevents a possible British charge is the American howitzer commanded by Captain Towson.
Note: regrettably I misinterpreted the six inch rule at this session, which is meant to apply only to long range fire. IE, at long range friendly units can't be within six inches of the target unit. So, as long as friendly units were outside of the howitzer's 30 degree canister arc of fire, or at effective range, had a clear view of the target despite friendly units ahead of it; it could fire.
Accordingly, I believe this would have had some impact on the British advance at effective range and possibly significant effect at canister range. Apologies to myself and Paul M the American players.

Only one battalion (First Regiment) of Ripley's American Second Brigade is left to fend off the 8th Foot. The other is in retreat but recovered. Both the American First and Second Brigades are in a fragile state as most battalions are nearing the critical 50% casualty situation.

Porter's Brigade failed a brigade morale check (under 50%). So, the remaining unit The New York Volunteers, which was in RETREAT state, was forced to disperse.
The only unit holding the American right flank are the American engineers. Meanwhile the GLI are steadily advancing. It does not look good on the American right flank.
Although the American engineers are ELITE versus the GLI LINE, the GLI have over double the numbers.

The GLI can't believe their good fortune having being driven back the Volunteers of Porter's brigade. Now that same brigade has melted away.

A view of the rear of the British 1st Brigade with the 8th Foot to the left and 103rd to the right. A much reduced 104th (bottom center right) is much reduced and in no state to continue the battle.
The Americans Capitulate!
The American side conceded the game when Porters' brigade was dispersed. This reasoning coupled with the much reduced and fragile state of the remaining American Brigades meant that further resistance was futile and that General Brown wished to prevent the effusion of further bloodshed.. Lastly, it was clear that Brown's army lost the previously gained games' objectives and there was no chance of recovering them.
A most enjoyable game. Several sessions ago most of us thought that the American army was done for and incredibly it bounced back. That represents the unpredictability of war as reflected within the GdeB rules, which makes for a very interesting and satisfying game.
Lessons Learned - Tactics
In hindsight (as suggested by Paul G), the American army should have gathered its artillery into batteries at the base of LL Hill where it could have been decisive. The tactic of moving the American infantry up LL slopes quickly and under the cover of darkness (making artillery non effective until close) was a good one. However, both the First and Second brigades should have been used. Oh yes; by pass those indestructible Mohawks in the building! They really slowed down elements of the American Second Brigade.
Lessons Learned - Game Mechanics
The game was arguably longer than required. For the next game the host will use the Victory and Defeat points system to prevent much weakened brigades from continuing the battle. As part of future scenarios a Division falter/break point system based upon commanders and unit values will be in place.
I have already mentioned the misapplied six inch rue as it applied to artillery fire and friendly units.
The 50% casualties morale test. For the next game this rule will be applied except for Elite and Guard units where the test will happen at 75% casualties. If the unit passes, it withdraws from the field in good order and does not cause a morale check to other friendly units within 12 inches. If it fails it will will disperse and cause a morale check for all friendly units within 12 inches. I believe the correct application of this rule will certainly speed up the game and reduce the fight to the last man syndrome. Further, it should force players to better manage their units....withdraw units that are close to the 50% casualty level rather than risk dispersal and a resulting brigade morale check.
Regarding Brigade Morale; on reflection, prior to the start of the last session the remaining battalion (GLI) of the British 2nd Brigade and remaining company (49th Light) of the 3rd brigade should not have been allowed to stand. I believe at least one brigade received a broken brigade morale result twice. This should not have happened (my fault). To quote; " No brigade may break twice and remain on the table. As soon as a brigade breaks for the second time the entire brigade is removed from play."
I think the unrealistic specter of a one company or one battalion out of a five unit brigade remaining on the battlefield will be mitigated by the use of the aforementioned Victory and Defeat points system.
Epilogue
Many thanks to my compatriots Paul G., Steve D. and Paul M. for making this a most enjoyable game.
Next time it is Bladensburg in August of 1814. Good grief, I have a lot of American militia to paint to say nothing of the Royal Marines, sailors and a Fusilier battalion.
Happy New Year to everyone.


