A couple of weeks ago I was fortunate to be invited to a game of Post Captain, which is a set of rules covering small unit naval actions of two or three ships per side. I wanted to secure some ship rules for a future Plattsburg Campaign that would require a small naval action. I have had my eyes on these rules for over a year. Further, I have being analyzing several Post Captain AARs through some excellent reports on TMP. The following is one of those reviews.
Post Captain Rules Review from TMP
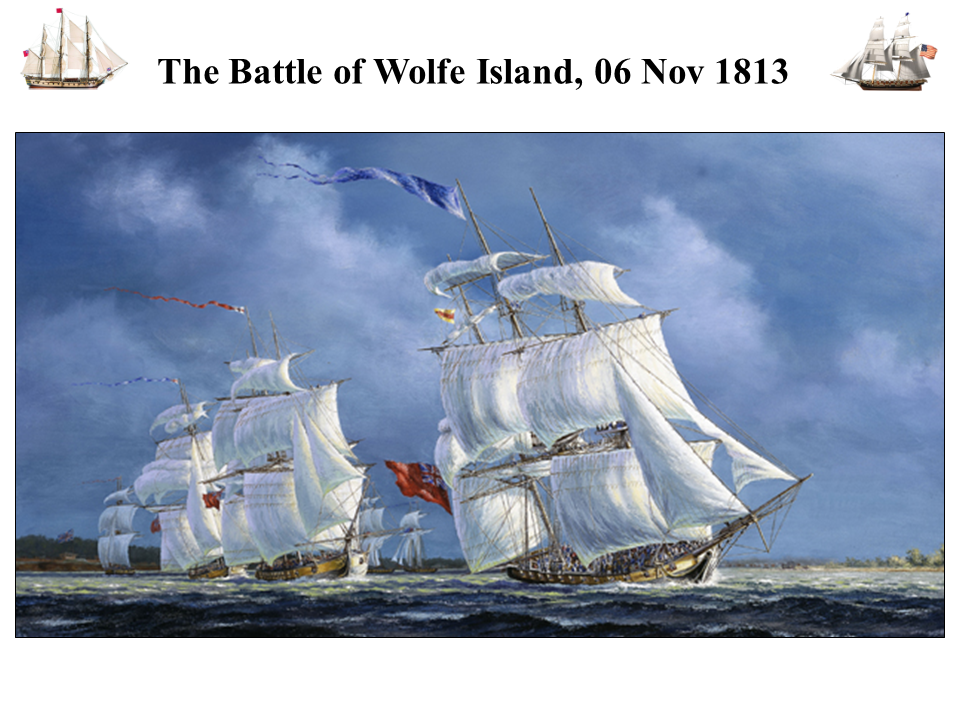
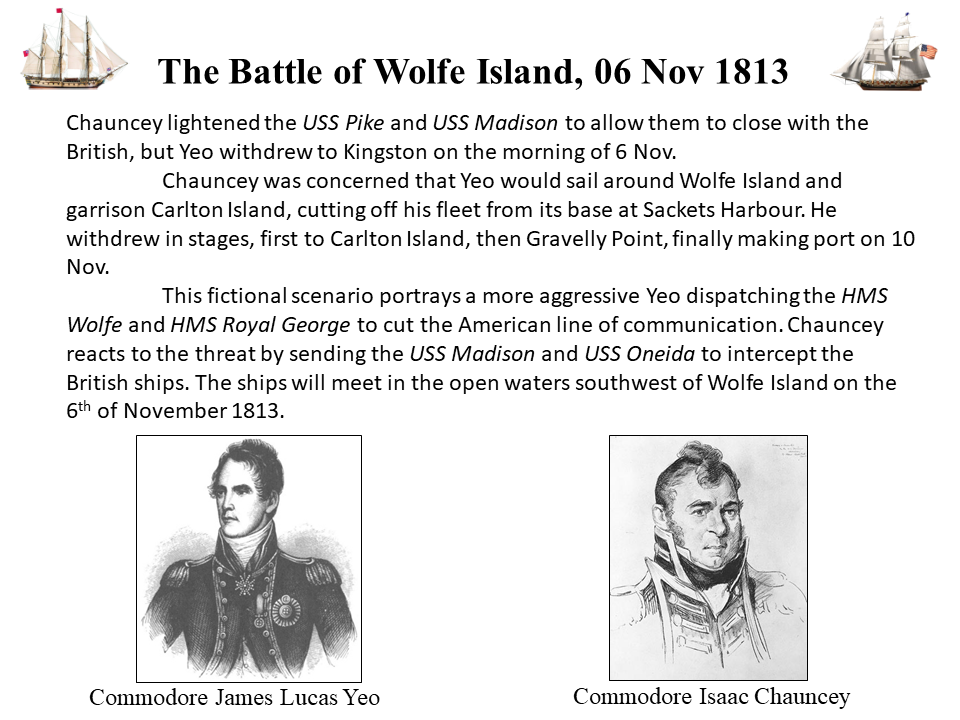
However, Russ' invitation was an opportunity to trial the rules first hand. About two weeks before the game Russ sent all of the players a historical background to the actions in the area of Wolfe Island. Although all the ships were in the Wolfe Island area, they never engaged in a fleet action. Nonetheless, the historical background provided context to our what if scenario that could have occurred if both commanders were more aggressive. Here is that excellent presentation kindly provided by Russ.
The Post Captain Training Game
The players were Russ (our host), Chris, Gord and myself. Russ gave us a approximately fifteen brief on the rules with a view of getting to know them better while actually playing the game. Clearly Russ well well versed in the rules, which was reflected in his clear and concise rules brief.
More commentary to follow.
This is the second time I have played this most interesting battle. The participants were from the Duc de Fromage Group; Mike, Howard, Eric, Howard, Ed, Bruce and yours truly. One session was an all day event followed by two evening sessions over about two months. The battle was played from 1200 to 1620 hours, which is 27 turns.
The scenario was largely the same (see original scenario and constraints) as the previous game (see blog entry April 2018) ; the Americans had to prevent any British unit from exiting the table on the Washington Road and the reverse for British. The major British constraint was that it could not have any Brigade rout.
Contrary to some histories the aim of the British army and naval forces was not to destroy Baltimore as a major objective, rather it was to opportunistically raid American towns and cities with extreme prejudice in the hope of drawing American troops away from the Canadian frontier. Always in Ross' and Cochrane's thoughts was the efficacy of preserving the army for its ultimate objective, the taking of New Orleans. Clearly and rightly in my view, Colonel Brooke's decision not to assault the Baltimore ramparts was a sound one that was consistent with army's ultimate objective. Also, Vice Admiral Cochrane called off the bombardment of Fort McHenry, which was necessary to gain access to Baltimore harbor to support to the army. So, this is the historical background that underpins the rationale for the game's British constraint.
As per all my War of 1812 games, General de Brigade (D) rules coupled with a growing addendum of War of 1812 caveats were used. The following photos and commentary represent the end state at 1620.
After missing two opportunities at 1430 and 1500, the American's successfully roll at 1600 for the arrival of the Virginia Brigade. Perhaps Col Minor used some physical persuasion to convince the supply clerk to finally issue the Virginians much needed muskets.
Colonel Minor leading the Virginia Dragoons in a desperate attempt to bolster the American right flank.
Also moving quickly to the vulnerable right flank are the two 12 pdrs and one 18 pdr of Barney's Flotilla Brigade.
The aforementioned American right flank with the Barney's Flotilla-men on the left and facing them on the right is ever advancing 21st Fusiliers. The casualties are the remnants of two of Col Beale's Annapolis battalions that were routed and dispersed by the 21st.
Beale's Brigade is BROKEN, so it remains to the American sailors and marines to hold the fragile right flank until its guns can come to the rescue.
An overview of the American right flank and the assault of the British Third Brigade supported by the naval contingent. Casualties were inflicted by the Maryland gunners (upper center right) on these two brigades as they advanced from the Bladensburg bridge. Fortunately, someone forgot to issue the American gunners with canister, otherwise the British casualties would surely have been higher.
Having routed a Maryland battalion of Beal's brigade, the 2nd Royal Marines struggle to keep up with its fellow brigade battalion, the 21st.
The British artillery go their separate ways to engage the Americans. The three pounder (right) heads towards the bridge and the six pounder (bottom left) makes its way to the river with the hope of engaging the American right flank.
Things are not going well on the British right flank, so, Major-General Ross gallops over to galvanize the First and 2nd Brigades. Alas, he is too late.
The British 2nd Brigade hangs on in the face of American volley fire. Both the 4th and 44th have FALTERED and are now any easy target for an American charge. Where is the First Brigade? It is supposed to be right of the Second Brigade.
Ahh...this is why the 1st Brigade is no more. Canister fire to their front, volley fire to their left and Eric with at least three double six rolls ensured its demise. One of the DD6 rolls (risk to general chart) caused the death of the 1st Brigade's commander, LCol Thornton and then things went steadily bad for the British right flank (Howard). Howard was heard to say, ' what will they think of me back home' with Bruce's instructions in ringing in Howard's head. At this point I declared an American victory as the British lost a brigade and must withdraw to the Fleet.
The Maryland Cavalry Brigade are now eager to mop up the remnants of the British First brigade and charge the FALTERED 2nd brigade.
A view of the American center. The Second Baltimore Regiment forming column of divisions in likely preparation to reinforce the collapsing right flank.
A close up of the 2nd brigade in its FALTERED state.
An overall view of the American left flank with the Georgetown Light Artillery on the far left and the British 2nd brigade mid upper right near the the mill.
A last view of the Bladensburg battlefield before I dismantle it to set up for North Point. I think everyone had a most enjoyable and interesting game.
The Battle of Queenston Heights
Queenston Heights was researched and gamed in 2013.
This was my second War of 1812 battle having completed Crysler's Farm.
Researching Queenston Heights Terrain
Strictland Queenston C1790 Lithograph (from
Niagara on the Lake Museum web site)
A pre 1812 water colour of the Lower landing by Lady Simcoe
This is the map that I primarily used to transfer the terrain dimensions to the table top. Note the two layers of the east-west ridge line that extends from Queenston Heights to (cut by the Niagara River) Lewiston Heights on the American side.
Ref: french War of 1812 Web Site.
Fort Grey guns firing from the American shore above Lewiston down to Queenston.
Building the Terrain
White foam board carved with a hot wire to the dimensions of the aforementioned map. Used a dark blue felt as the river and laid the foam on top. The actual cliffs along the lower shoreline were about ten feet tall. At my scale of 1" = 20 yds the cliffs are a little bit taller but they look OK when compared with the heights.
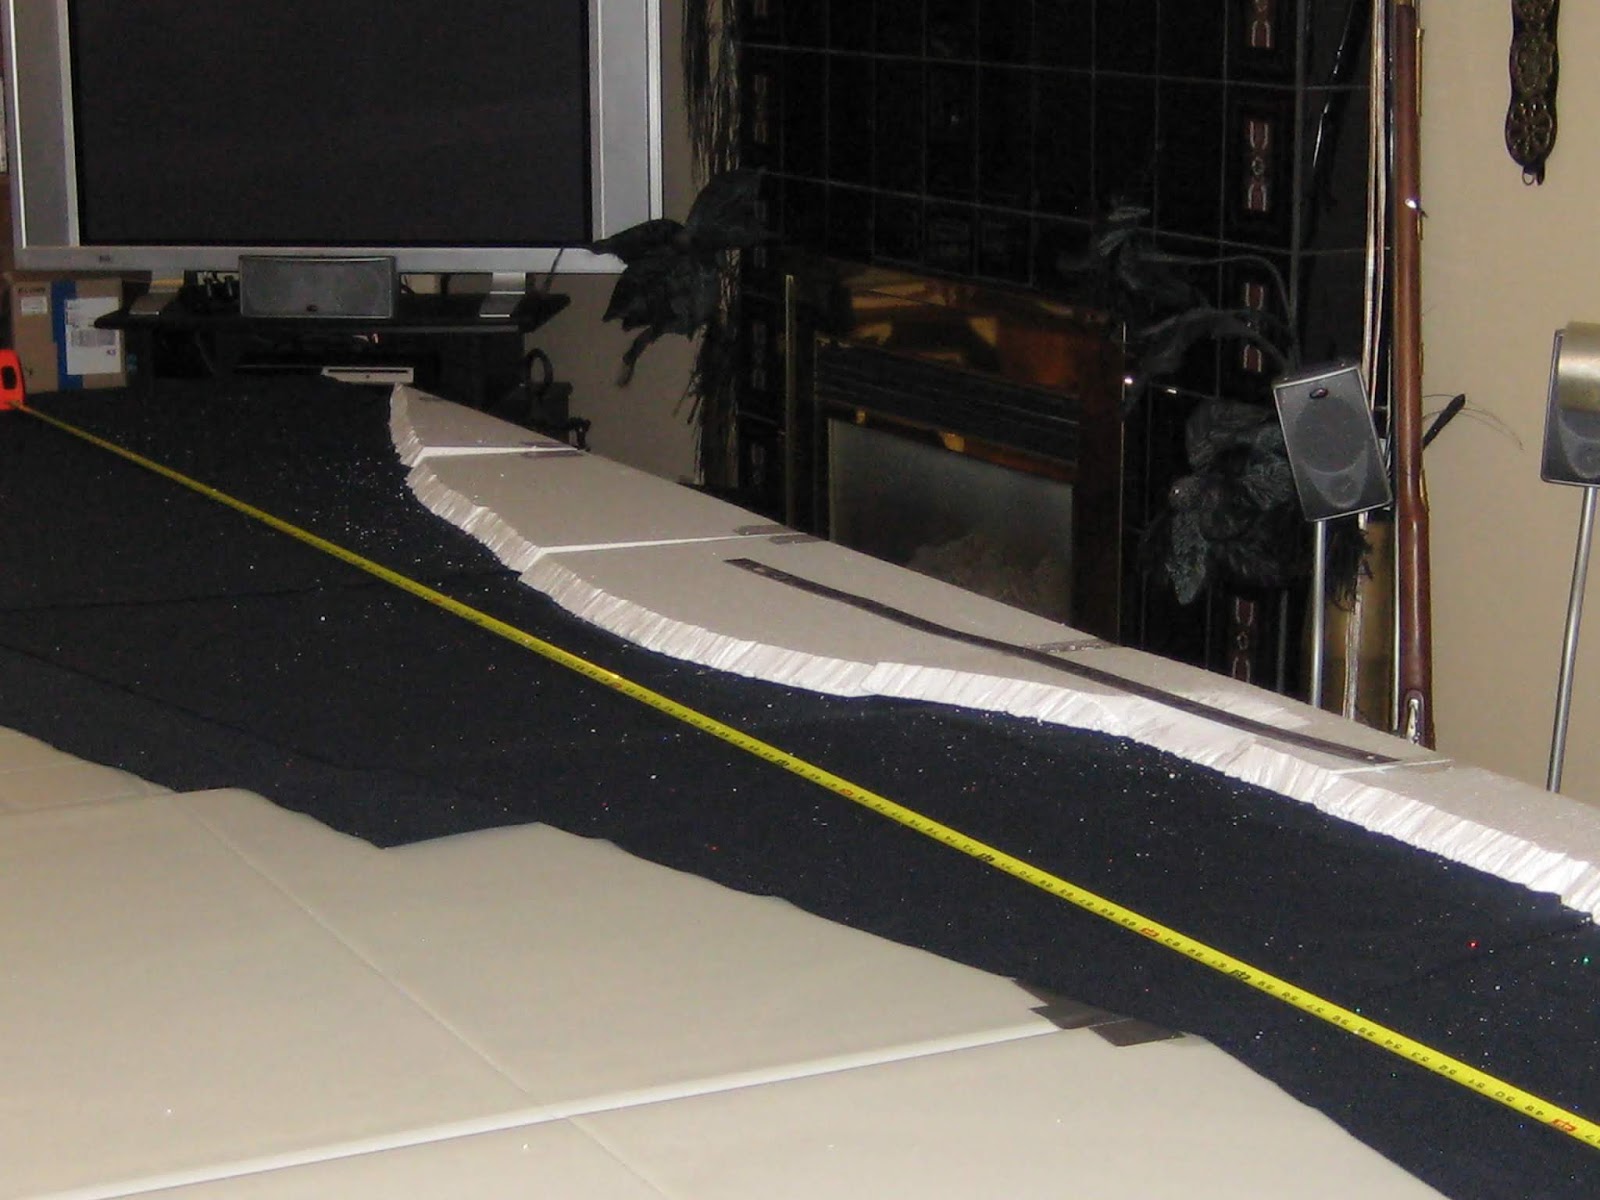
Checking the distances converted to inches ( I think I used 1" = 20 yds). The tape was main reference and I laid a steel rule at 90 degrees to it to measure the distances along the table edge.
Starting to add layers of foam for Queenston Heights (lower left).
A look at the blue felt on top of the folding tables, which will soon be covered with foam for the Canadian side.
A view looking north towards what will be Vrooman's Point. Note that most of the foam is covered with a canvas drop sheet, which has been painted in earthy/green colours.
Looking north again, the American shore on the right. The heights can be seen on the lower left. Note the road (brown) ascending the heights. Using paper to protect the blue felt as I add grit/sand and paint to the shore line.
In this view looking south (American shore on the left) you can get an appreciation of the rising ground that will have Fort Grey on the left and on the right part way up the British Redan.
Looking south along the Canadian shore and interior. Above the one inch foam base I think I used two additional layers of four inches each. You can discern the two main upper layers in the mid and upper photo areas. The layers form the east-west ridge line, which includes Queenston Heights. Note the brown slopes that denote the two rises of the ridge line.
The British Redan area and the road leading up to hieghts. Note the steep ravine (upper right center) that leads down to the Niagara River. It was from the this ravine that American troops were able to scale and ultimately surprise the British and Canadian troops.
A View of the Completed Queenston Heights Terrain with some troops on it.
This view gives a good idea of the steepness of the heights.
A view of both the embarkation (Lewiston dock ) and disembarkation (Queenston beach) operations.
American troops moving along the Canadian shore line to access the steep ravine.
It is crowded at the Lewiston dock as Americans embark boats to cross the Niagara.
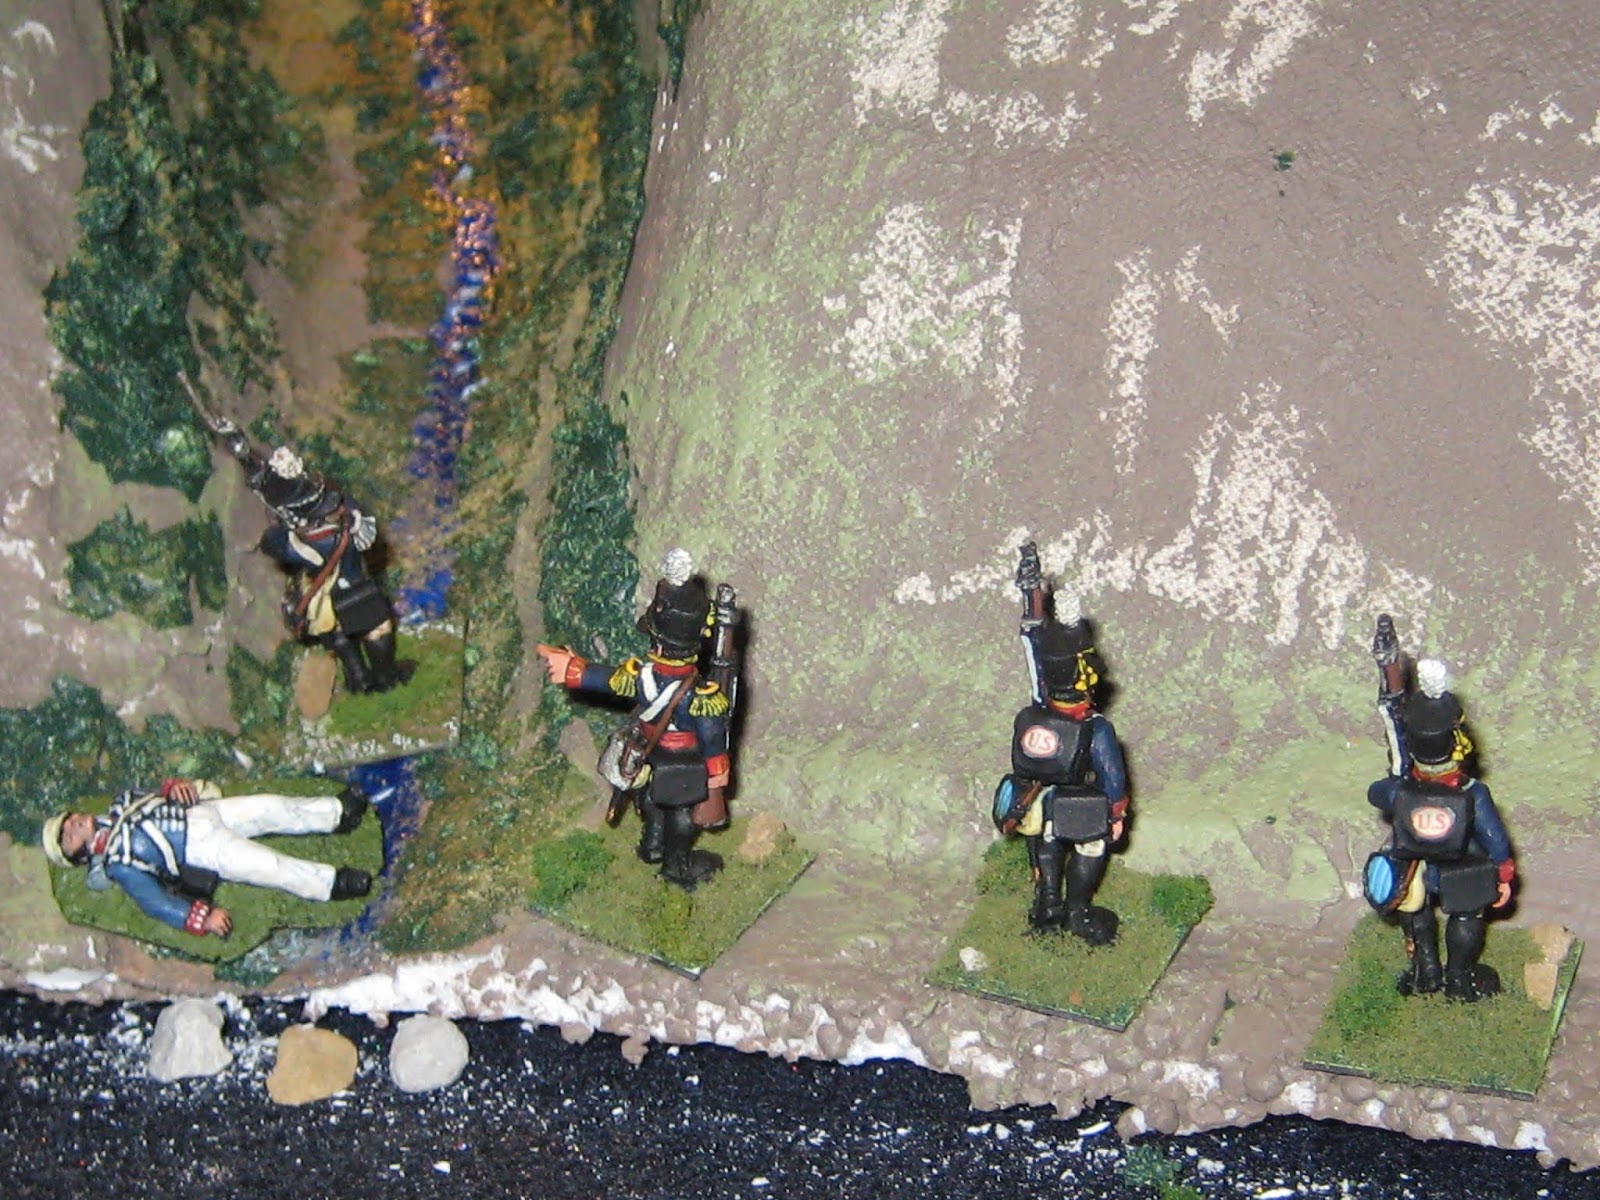
American troops advancing upi the heights towards the redan while British regulars and Canadian militia contest their advance.
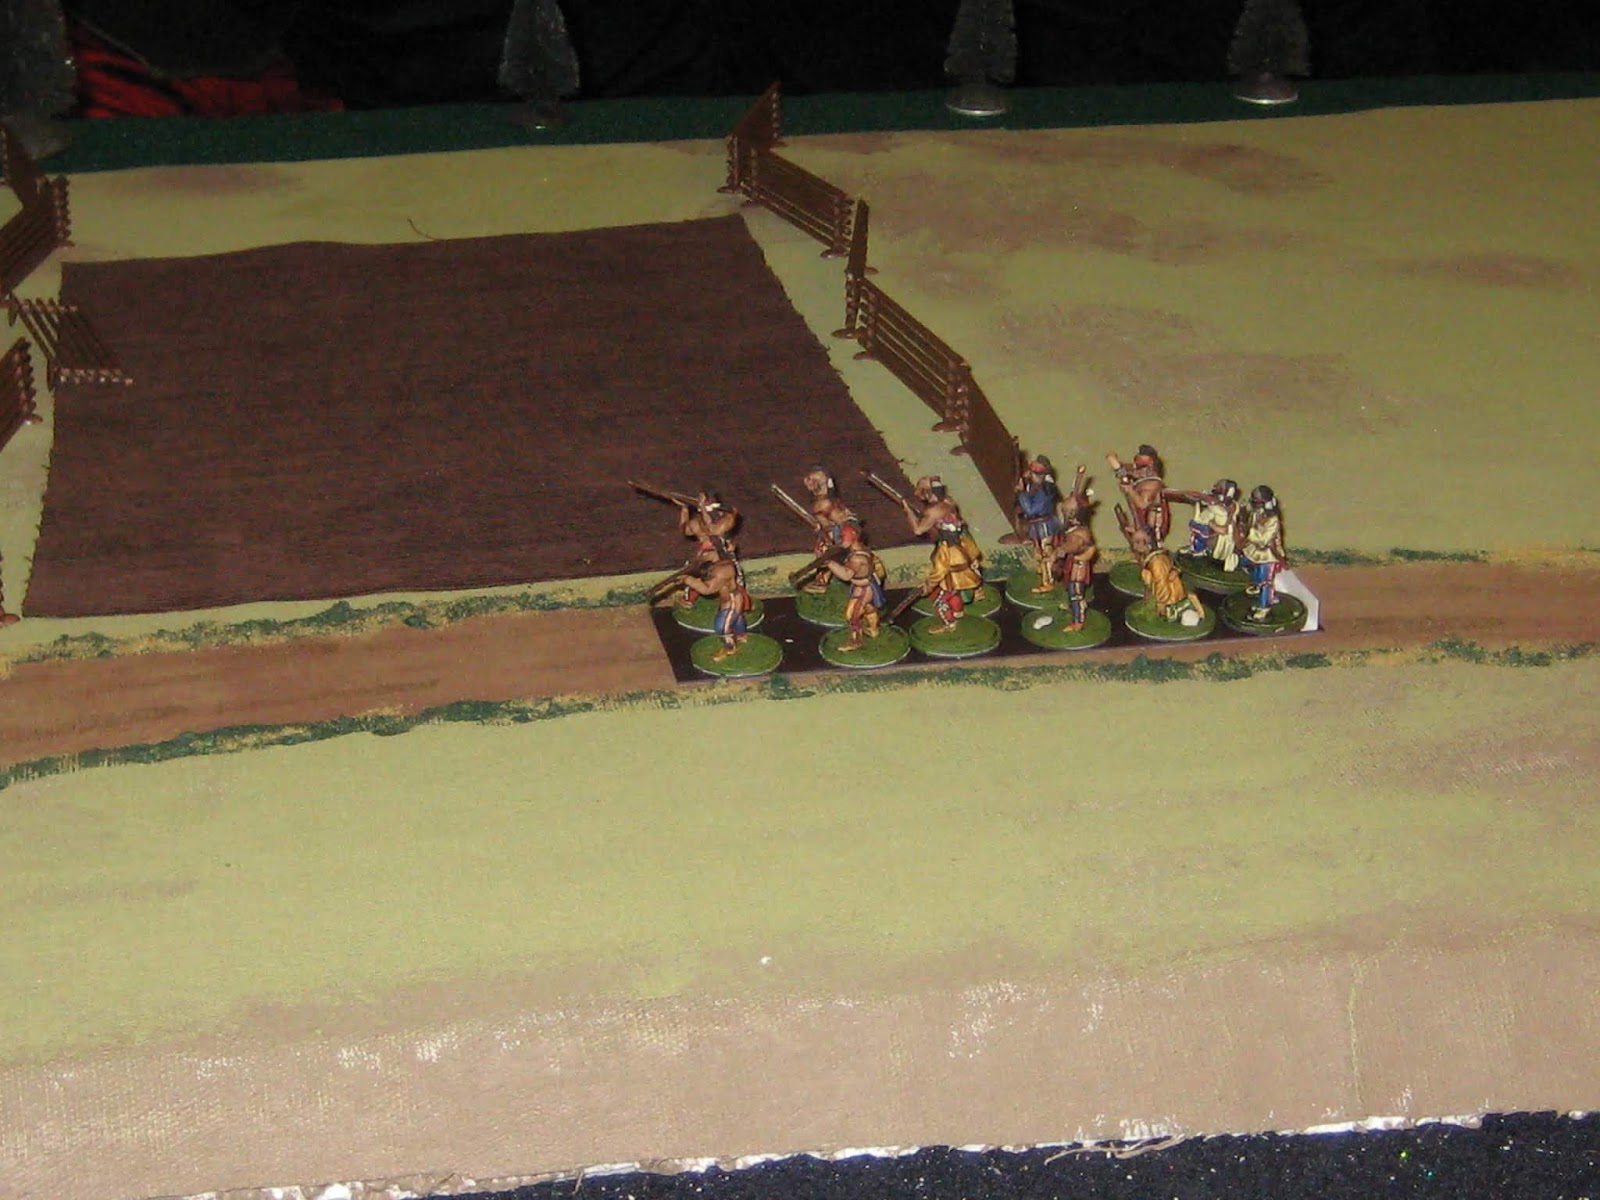
More Mohawks (mid left) moving towards Queenston and the Vrooman's Point battery firing on the American landing boats.
General Brock urging on the York Volunteers.
A view of American regulars making their way up the very steep ravine to gain the heights.
American NY militia has disembarked at the base of Queenston heights.
American light artillery at Lewiston give supporting fire to landing American troops.
British and Canadian troops defend Queenston near the first rise of the ridgeline (escarpment) . Note the York Road (mid left) that extends towards Burlington.
A British 9pdr garrison gun defends Queenston.
A view of American troops trying to besiege the British Redan, which has an 18 pounder. Note that there is a British company guarding the top of the ravine (upper left corner).
Americans crossing the Niagara from Lewistion (left) to Queenston (right). We used a d6 roll to determine where American boats landed to simulate the strong currents, which blew many boats towards Vroomna's Point.
Mohawk Natives moving along the ridge line to engage American troops that are scaling Queenston Heights. These Mohawks led by John Norton were instrumental in keeping American troops pinned in place until reinforcements arrived from Fort George and Chippewa.
The top of Queenston heights with Fort Grey ( upper center) on the American side.
Looking north, the village of Queenston.
Looking north Lewiston on the right and the ravine to Queenston heights mid left.
Looking south American shore on the left and the village of Queenston on the right.
The Hamilton residence on Hamilton Cove. It should be on the opposite side of the stream but there was not enough space in Queenston.