Those Are Regulars!

Those Are Regulars!
Scott Leading the First Brigade

Saturday, 9 February 2019

Battle of North Point - Fourth Session - 7 February 2019

With the two of us we managed to get through four action packed turns. The Americans are conducting a skillful defence. This stalwart defence coupled with the British difficulty of changing their orders to more aggressive operations has slowed down Ross' army. The following photos represent the culmination of the four turns from 1740 to 1820.


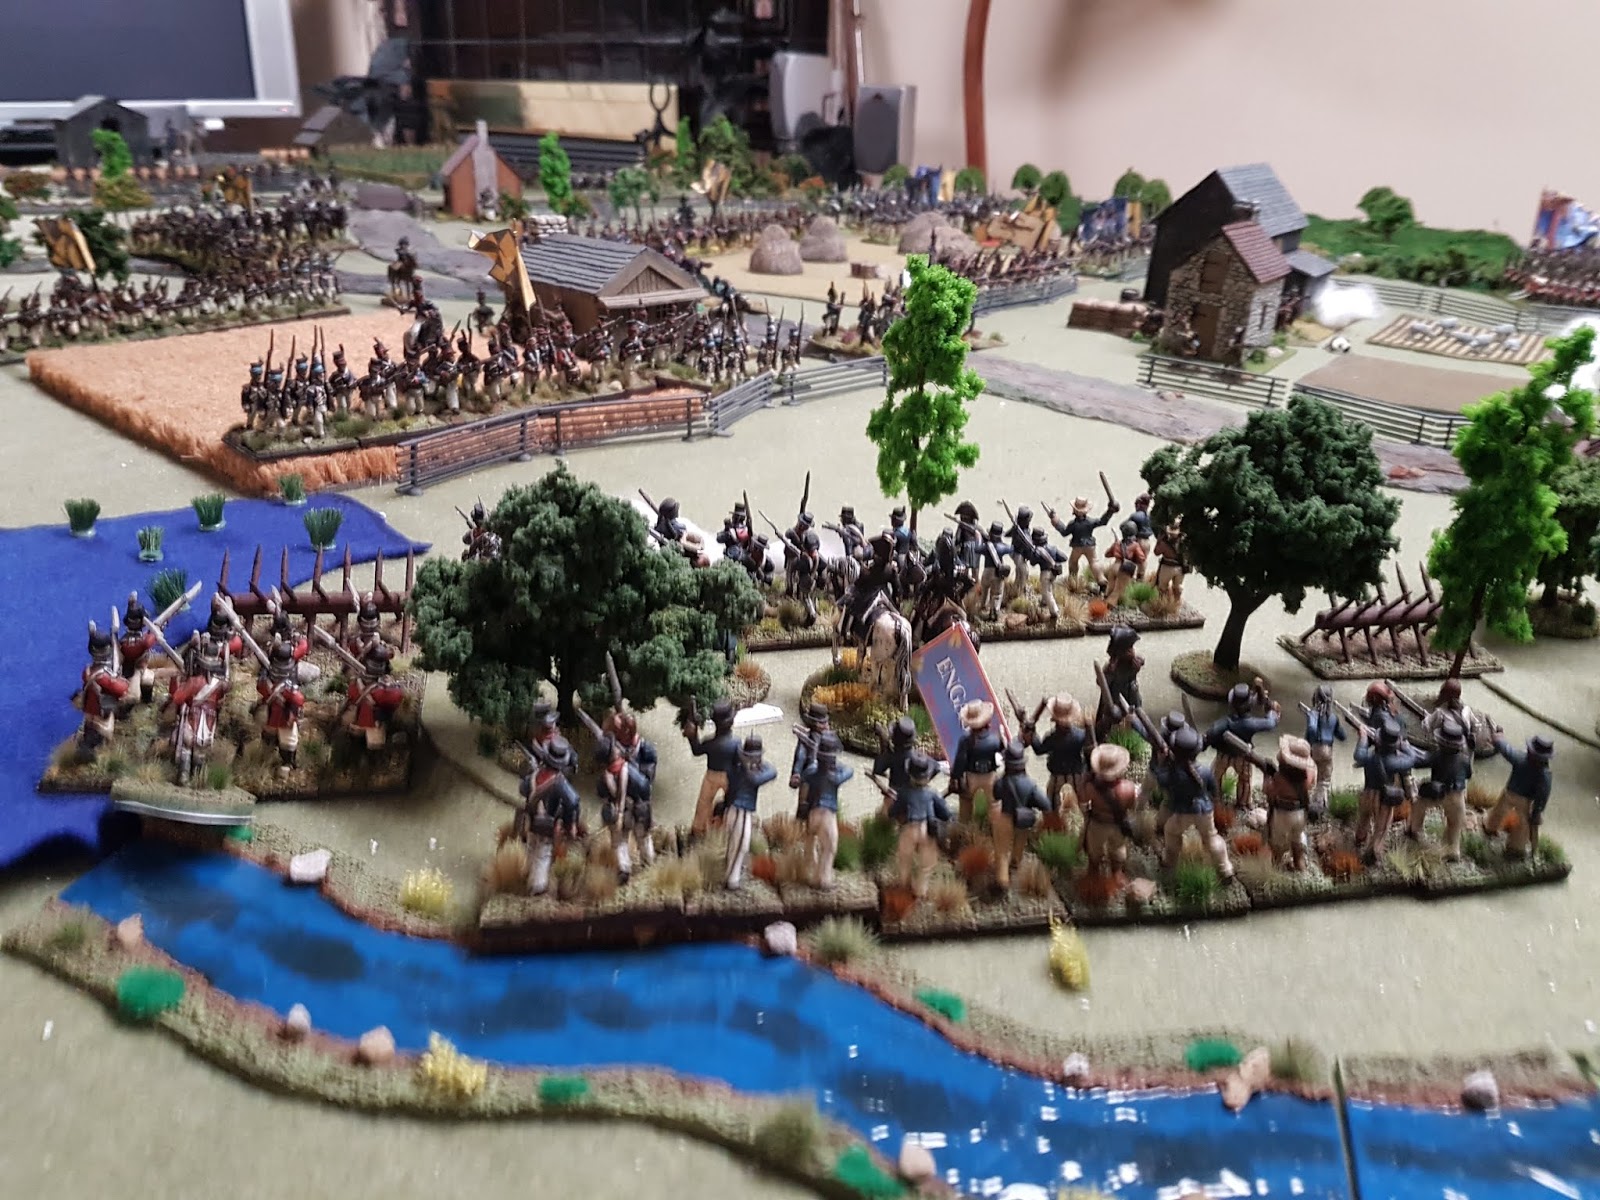
 The glorious 5th Maryland battle it out with with 1st Naval Contingent while two companies of Royal Marines maneuver around the American right flank.


 The Second Royal Marines have driven out the American riflemen from the buildings and the yanks ultimately rout. However, as the marines achieved their objective the brigade order reverts to a HOLD. The British tried to change their orders to an ASSAULT two time without success. Subsequently, the Americans roll a lucky double six which causes three casualties and forces a morale check on the 2nd Bn Royal Marines; they FALTERED. 


 The British three six-pounder battery manages only to kill one skirmisher of the 27th.


 As its brigade is on a HOLD order (re the 2nd RM achievement) the 21st Fusiliers  must content themselves with exchanging musket fire with the 36th Regiment.


The 4th 'King's Own' of the 2nd Brigade is in musketry duel with the American 38th Regulars. It is slow going through the swampy ground for the 2nd Brigade. Nonetheless, the 44th 'East Essex' (right of the 4th) plods its way through the swamp in an effort to get behind the the U.S. 38th regiment.

With only four turns left in the game and the visibility about to drop to 36 inches, I think the American's are going to win this battle barring a major American rout in the next turn or so.


Sunday, 3 February 2019

Battle of North Point - Session Three - 31 January 2019

Session Three finds just two players engaged; Rod and Paul G. Consequently, the turns are taking a bit longer, particularly as a lot of units are in the ENGAGED status. With some time spent taking about the tactics of the period we nonetheless completed four action packed turns. The following photos represent the end state at 1740.


 The Naval contingent led by the indomitable Rear-Admiral Cockburn is now fully engaged with the 5th Maryland Regiment (in the distance behind the fence).


 The British howitzer has already been withdrawn from the artillery firing line. It seems the American battery has been targeting the howitzer in the hope of forcing a brigade morale check on the Divisional assets. However, in the first turn of this session the British battery inflicted a gunner casualty, which forced off one gun leaving two American guns. In the remaining three turns there were no gunner casualties.

 In the center the 2nd RMs are successfully engaged with the American riflemen in the buildings while the 21st Fusiliers are moving through the cornfield to engage American regulars on the fence line. The Royal and Colonial Marines are in reserve behind the 2nd RMs.
To the rear (foreground) the light Brigade are taking a well earned rest having suffered the brunt of the British casualties.

In the center foreground MGen Ross watches the engagement of the Third Brigade.


 On the British Army right flank, the Second brigade (4th and 44th), commanded by Colonel Brook, is moving across the river in an apparent bid to engage the American regulars in the flank.


 A view of the American left solidly anchored by the regular brigade.


 A view of the Virginia Brigade acting as an army reserve or perhaps to cover a possible American withdrawal?

 It appears that the Americans are endeavoring to slow the British advance in an effort to exhaust time and so prevent the British from gaining their objective before darkness. With only eight turns left before night the American strategy might work.


Tuesday, 29 January 2019

Battle of North Point - Second Session

Battle of North Point - Second Session - Thursday 10 January, 2019

This session of the battle took place from 1610 to 1700. So, we completed six turns in just over two hours The following photos represent the end state at 1610.

 The British artillery (right) has been returning fire on the American gunners.. No doubt in revenge for losing their rocket battery. The Light Companies and the 85th L.I. have withdrawn their skirmishers while the 2nd Brigade moves to the fence line (left center).


 The RMs have reached their fence line objective and commenced fire on the American Rifles in the buildings. Besides the artillery engagement, the area around the Boulden farm has been the scene of most of the fighting.


 The RMs and sailors move up the British left flank to engage the Americans.


 A view of the two American lines with the militia gunners in center on the road and Maryland Cavalry in reserve (left center).


 A view of the British right flank with 21st Foot at the edge of a corn field.


 The American regular brigade are now anchoring the American left flank. They await the the British assault.


The Virginia brigade are acting as a reserve along the bread and Cheese Creek.

So far in has been a game of manoeuvre, skirmishing and artillery fire.  No doubt there will be several engagements as the antagonists lines clash in Session Three.

Wednesday, 26 December 2018

Battle of North Point

The Battle of North Point, 12 September 1814

The Terrain, Research, Orders of Battle, Scenarios and Game Timeline

The Terrain


 Probably the best Baltimore area campaign map that I have found (U.S. National Park Service).


 The left half of the wonderfully panoramic display of the North Point Battlefield by Richard Schlecht from In Full Glory Reflected . Note the RMA rockets firing (left middle) correctly portrayed on a ladder launching frames and just above it Boulden Farm, the roads, fence lines, swampy area (fore ground bottom). The American line are in the right upper corner area.

Both of these 2d maps were most useful in portraying the battlefield with a view to accurately modelling the table top terrain.

The right side of the 2D map with the Bread and Cheese Creek emptying into the Back River (below). The British 4th Foot are emerging from the swampy area to attack the 51st Maryland Regiment, which forms the American left flank.

Note that the above view is from the opposite side in relation to the tactical maps below.

 This tactical map of North Point is taken from the Maryland War of 1812 site. As you can see by my the measurements along the edges, I used this map to lay out the table top terrain. This map was useful to delineate the roads, rivers, inlets, bridges and buildings. I used a one inch equals 20 yds. to convert the distances from the map to the table top battlefield.


This is a player map converted from the above tactical map that shows wooded areas fence lines etc. plus the American no go area for British deployment (bottom right corner) for each side's use. The American player has the option to deploy both of the rifle Battalions any where outside of the two foot British deployment area (hidden known to GM and activated when British come within 6") . The remainder of the American Army can be place no closer than Boulden Farm.


Building the Battlefield Terrain

 The table consists of several six foot tables, which are covered with interlocking two foot square foam pads and then covered with two six foot wide rolls of green felt.


Note the two tape measures that are used in conjunction with aforementioned tactical map to accurately place terrain features. In this the longer stream is Bread and Cheese Creek.

Now the other water features are added along with the major roads and two bridges. The road in the distance leads to British Landing area at North point and the road below left corner leads to Baltimore.  Unfortunately, I neglected to take photos of the additional terrain features such as building fences trees etc.  However, one see the full terrain effect in the photos of the first session.

The Orders of Battle and Research

 The story of the research is contained within the Foot Notes.  In terms of the unit strength under the ratio column (20:1) I have rationalized numbers to fit four figure stands. This results is pluses and minuses but evens out over all.


Game Orders of Battle and Scenario Objectives plus Restraints and Options

Note: I added a regular (B Gen Winder) and a small Virginian Brigade ( B Gen Singleton) to even up the units on each side. These brigades will arrive randomly via D6 roll based on the Time Line Chart (below). These Brigades were not present at North Point. However, their services were offered to BGen Stricker but they were declined.


Time Line and Event Log


--------------------------------------------------------------------------


Battle of North Point First Session

The game started at 14:30 and the session ended at 16:00, which was ten ten-minute turns. A very fast and efficient first session.

The American player (Paul G.) has opted to deploy as far forward as possible while utilizing the split rail fences for cover.


 The American right flank (left) is anchored by the 5th Maryland Regiment (arguably their best American militia infantry) while the Maryland Artillery are set up on the North Point Road. On the right two British skirmish lines face off against the Americans while trying to screen the rest of the British army coming up the North Point Road.


 The American second line of two battalions (center bottom and top) supported by the Maryland Cavalry Brigade (center left).


 A view of the MD cavalry (right) while the regulars (center top) are on the road to reinforce BGen Stricker's Brigade. The regulars are followed by the Virginian Brigade.  Paul G. was fortunate to roll for the regulars on his first try and the Virginians on the second try.


 A view of the British advance screened by the light companies and the 85th, who are mostly in skirmish formation.

 A view of the British artillery endeavoring to deploy on the road against the American artillery. 


 A view of the Royal and Colonial Marines with the RM Rocket detachment further away. The rockets were a victim of a double-six roll and lost two figures and were FALTERED.


The Maryland Rifles are in a firefight with the skirmishing 85th. So far the British are taking the brunt of the casualties, which is to be expected.

Wednesday, 14 November 2018

Battle of Wolfe Island - Post Captain Rules

A couple of weeks ago I was fortunate to be invited to a game of Post Captain, which is a set of rules covering small unit naval actions of two or three ships per side. I wanted to secure some ship rules for a future Plattsburg Campaign that would require a small naval action. I have had my eyes on these rules for over a year. Further, I have being analyzing several Post Captain AARs through some excellent reports on TMP.  The following is one of those reviews.

Post Captain Rules Review from TMP


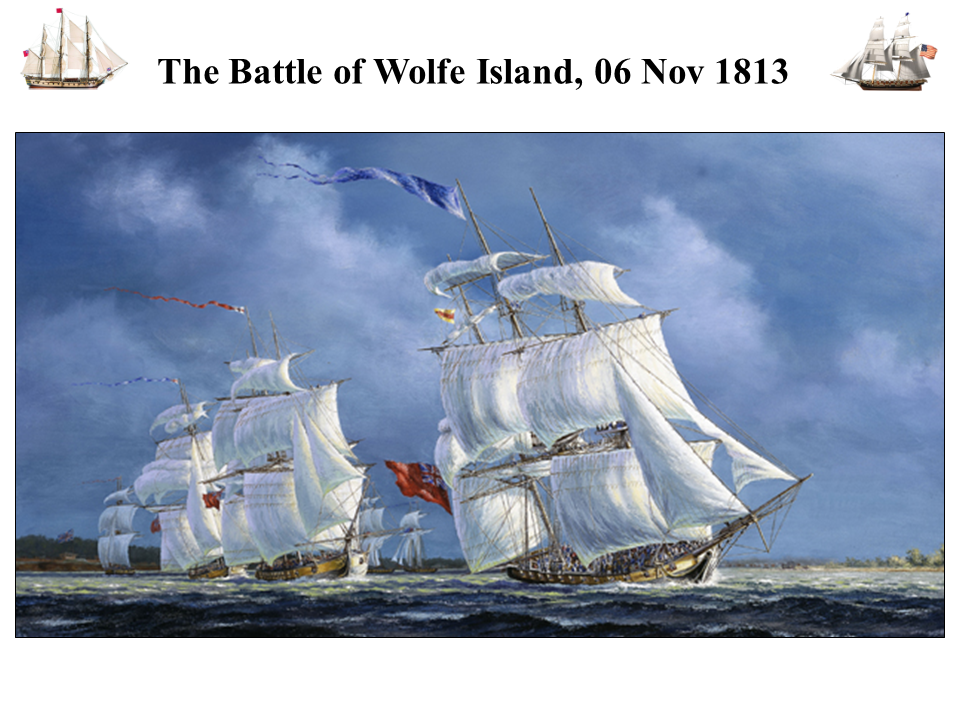
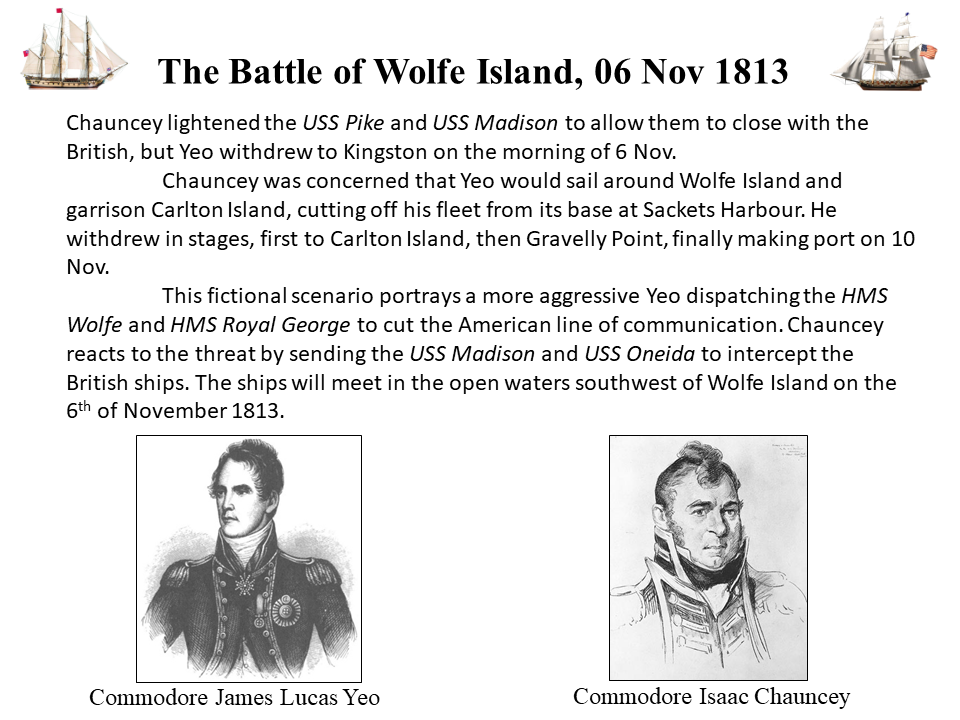
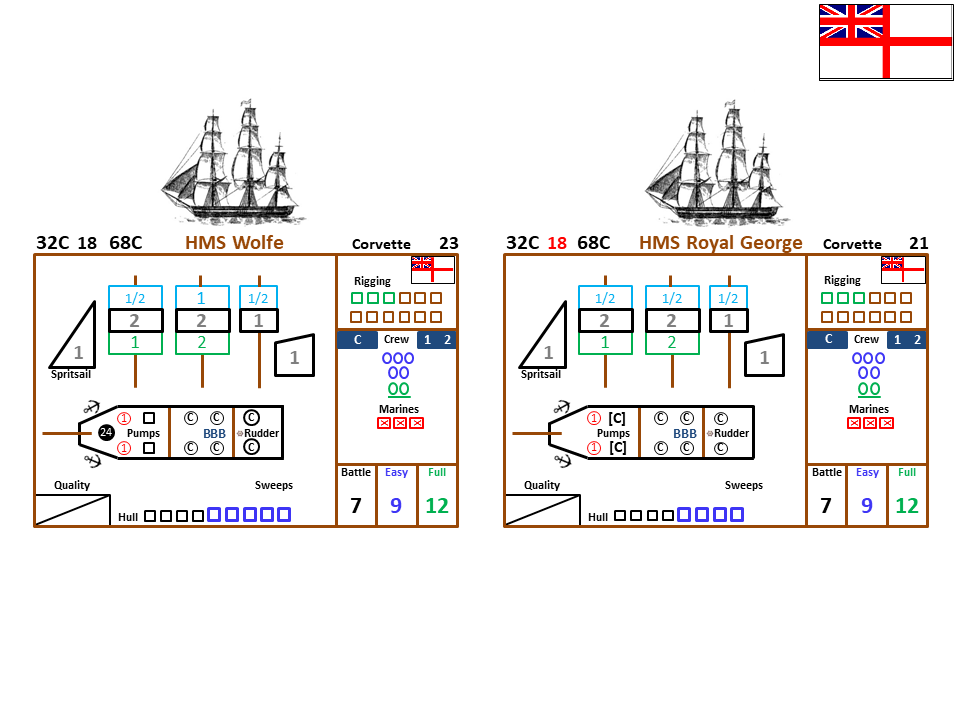
However, Russ' invitation was an opportunity to trial the rules first hand. About two weeks before the game Russ sent all of the players a historical background to the actions in the area of Wolfe Island. Although all the ships were in the Wolfe Island area, they never engaged in a fleet action.  Nonetheless, the historical background provided context to our what if scenario that could have occurred if both commanders were more aggressive. Here is that excellent presentation kindly provided by Russ.


The Post Captain Training Game 


The players were Russ (our host), Chris, Gord and myself.  Russ gave us a approximately fifteen brief on the rules with a view of getting to know them better while actually playing the game. Clearly Russ well well versed in the rules, which was reflected in his clear and concise rules brief.


More commentary to follow.