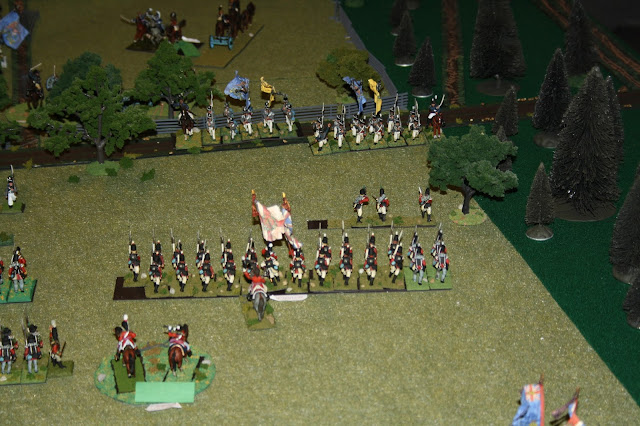
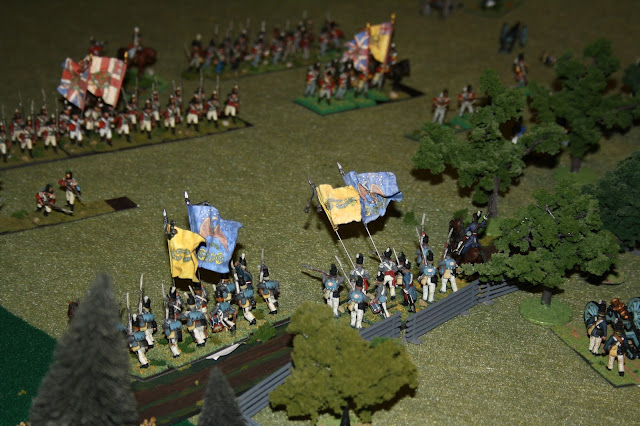
Those Are Regulars!

Those Are Regulars!
Scott Leading the First Brigade

Sunday 25 October 2015

Lundy's Lane Redux - Session Six - 15 October, 2015

Just when most of thought that the American left flank was about to be rolled up ending the game, a series of surprises occurred that kept American hopes alive. It was a most interesting evening of war gaming.

 On the American left flank, Scott's First Brigade defend the north-south road with the 103rd Foot's light company harassing the American Ninth Regiment. The rest of Scott's brigade is lined up and ready to receive the rest of the 103rd.

The 103rd advances on the 11th and 9th American regiments. 

 Ripley's Second Brigade has withdrawn down the slope in the face of a threatening 19th Dragoon troop on its flank. 
A little bit of discussion ensued regarding the efficacy of cavalry being able to to jump over a stout five foot rail fence as part of a cavalry charge. The GdeB rules state that both cavalry and infantry can 'cross a wall or stream, etc.' using up half a turn. However, it is believed the intent of the rules was to represent the average European wall or fence, which is arguably about three to a maximum of four feet in height. The host ruled that these formidable fences were not jump-able/cross-able and certainly not part of a charge sequence. Subsequently, the host validated his decision through Graves account of the Lundy's lane. Around Lundy's and throughout most of Upper Canada, the fence "was required by law to be at least five feet high with fours rails or logs sufficiently well made." Ref Graves LL p. 126.

 Left center, the 1st Royal Scots advance down the LL slope to engage the 21st regiment of Ripley;s Second brigade. Right bottom, the 1st regiment advances on the flank of the 89th Foot.

 Left bottom, the 1st regiment; to its right the American engineers and the Pennsylvania Volunteers all pour fire onto the 89th Foot.

On the American right flank Porter's Third Brigade's New York Volunteers has secured the Queenston road and is engaged with the British pioneer company in the house and the GLI. This engagement will undoubtedly prove pivotal.

Center, the dreaded infernal rocket battery begins its deadly launches but so far misses. In the meantime the American players vainly hope that a volley of rockets will turn on itself or least hit a British unit....for a change.

 The British/Canadian left flank with the GLI left bottom and the NY Volunteers mid center and the pioneers company defending the house..

 A view of the rocket battery on LL heights with the 49th LC in the LL Church.

 A view of LCol Morrison (left) and LGen Drummond behind him and the 1st Foot ahead engaging Ripley's Brigade.

Having successfully intimidated Ripley's brigade to withdraw, the 19th LDs lurk behind some friendly skirmishers waiting for an opportunity to pounce.
It sounds repetitive but we are indeed reaching another possible decision point. Can Scott's First brigade hold back the onslaught of the British 1st brigade? Can the Ripley's maintain its line versus the threat of cavalry and the Royal Scots. Can Porter's brigade hold its position or even advance against the 89th and the GLI. We shall soon see.

Sunday 11 October 2015

Lundy's Lane Redux Session Five - 1st October 2015


This Fifth Session includes the ten minute turns from 0720 to 0830. The following photos represent the end state at 0830.

Another upset occurred on the British right flank; the 19th LDs were again subject to a push back. The remaining three battalions and howitzer of Scott's Brigade have withdrawn intact in the face of a steady advance by LCol Scott's 1st British brigade.


 The 103rd Foot advances north to south on the 11th and 22nd U.S. regiments.

 The light company of  8th Foot in skirmish order are harassing the 9th Regiment in the woods on the extreme right flank of the British line.

A rear view of the the 11th and 22nd U.S. regiments with Towson's howitzer on the lower right. 


 The British 24pdr, the howitzer and the American 18pdr have steadily lost gunners to point that they have variously failed their morale checks and routed from the filed. With no artillery on Lundy's Lane heights, MGen Brown orders Ripley to advance his Second brigade.

 The First Regiment is taking the Portage road towards Lundy's Lane heights.

 Porter's brigade of Volunteers has turned the British/Canadian flank having routed the IMUC and 1st Canadian Militia battalion.

 The Second Brigade has failed its morale check and must retire on its next compulsory move.


 Oh No! That dreaded infernal rocket machine is slowly making its way up the reverse side of the Lundy's Lane heights.

LGen Drummond still seems quite confident observing the battle to the rear of the 1st Foot The Royal Scots on top of Lundy's Lane heights.

The steady withdrawal of First brigade in the face of a very strong British 1st brigade advance coupled with the cavalry repulse has staved off what was a possible disaster on the American left flank.

On the American right flank Porter's Brigade has forced the British 1st Brigade to retire and exposing the left flank flank of the British line. Can Porter's Volunteers capitalize on this situation? We shall see next time.

Lundy's Lane Redux - Session Four

The fourth session got underway after a long summer hiatus on Thursday 24th September, 2015.


 After many set backs Scott's brigade is holding its ground  on the Army's left flank but faces significant British opposition.

 The 19th LDs versus the U.S, LDs came to a surprising result. The 19th were pushed back to their own start line. This provided some much needed breathing space for Scott's First Brigade.

 Ripley's Second brigade holds the line just outside the British 24pdr's canister range. The U.S. 18 pdr battles' it out with the British 5.5 howitzer and 24pdr. Ripley is content to wait it out while the big guns attrit each other hopefully with American guns the last standing. 

 On the right of Second Brigade the 18 pdr left and the destroyed 12pdr on the road. It does not look good for the American guns.

 It was a brave attempt of the 12 pdr crew to get within canister range of the British (12 o'clock to the 12pdr). To the right of 12pdr remains, is the American combat engineers getting into postion to support Porter's brigade.

 The only successful American brigade is Porter's New York and Pennsylvania volunteers. The continually pushed back the British/Canadian left flank.

 A view looking north down the left flank of the British/Canadian.

A view of the left center of the British/Canadian left center. Yes, they are holding onto the Lundy's Lane heights.
Will Scott be ba able to hold off the British on slot on the American left flank? Which side will win the crucial gun duel in the center? Can Porter's Volunteers continue their successful advance?
Stay tuned to Session Five.