The final session consisted of four action packed and most interesting turns.
Just before starting this session both Paul and I discussed how this battle is 'near run thing' it could go either way depending on Brigade Morale checks. The British First or Light Brigade with 2 of its three units left was in a fragile state. The 85th at slightly less than 50% was required to conduct MORALE checks every turn. The 85th took advantage of the stone building , which gave it +2 plus +1 Gen. attached, +1 Elite, but -3 casualties for an aggregate of +1. So, it only had to roll a plus 4 or better to avoid a FALTER/RETREAT. And surprisingly, it did this consistently for three sessions. If the 85th had failed any MORALE check, it would have triggered a Brigade MORALE check. A British Brigade MORALE failure would have forced the British to army to retire and resulted in an American victory.
Further, the British 2nd Brigade had its 4th 'King's Own' in RETREAT with American cavalry and infantry threatening it from the the front and its right flank. If it ROUTED this would trigger a Brigade MORALE check with the same defeat consequences as stated above.
Countering the fragile state of the British force was the fragile state of two American Brigades plus the the fact that the American Army was approaching the Army FALTER point check.
The following photos represent the end state at 1740 hours.

On the American right flank, the Royal Marines declared a charge against the 60th Virginia Infantry but this was overtaken by an opportunity charge by the Virginia Light Dragoons. A low roll by the American cavalry coupled with marine defensive fire caused a casualty precipitating failure to complete the charge and ultimately forced a RETREAT . However, further American damage was caused by subsequent morale checks on units with 12" of the light dragoons. Again a low roll coupled with a FALTERED state caused the 17th Maryland Regiment to disperse.
This cascading series of unit morale checks forced brigade morale checks on the the remnants of Stansbury's Brigade and the Virginia Brigade. The Virginia brigade passed but Standsbury's Brigade was Broken and forced to withdraw 18"
LCOL Tilghman is what is left of the Maryland cavalry charge against the 21st Fusiliers. The fusiliers used half a move to partially refuse its flank and then delivered a devastating volley that killed three cavalrymen. The result was ROUT by the Washington Hussars, which triggered a series of morale checks among Commodore Barney's units, which caused the Flotillamen to FALTER.
The U.S.M.C. twelve pounders nearing their objective on the Washington Road. They could have been decisive if there was another turn or two to follow.
The USN 18 pdr fires at the British 3 pdr in the distance (center top) but misses. In hindsight it probably should have fires on the fusiliers who were closer. Like the twelve pounders, this 18 pdr would progressively become more and more tactically successful in the turns to come.
Standbury's Broken Brigade awaits further orders on the American rear left flank.
The Washington Light Artillery moving up close to its objective, which was to fire into advancing right flank of the British. Again as above....a few more turns and this would be tactically decisive.
Another view of the failed cavalry charge and the resulting morale checks on Barney's Brigade. On the positive side for the American, the British advance has temporarily stalled.
The First Columbian Regiment moves forward to threaten the British right flank.
The First Baltimore Light Dragoons stand ready for another attack.....sigh not enough time.
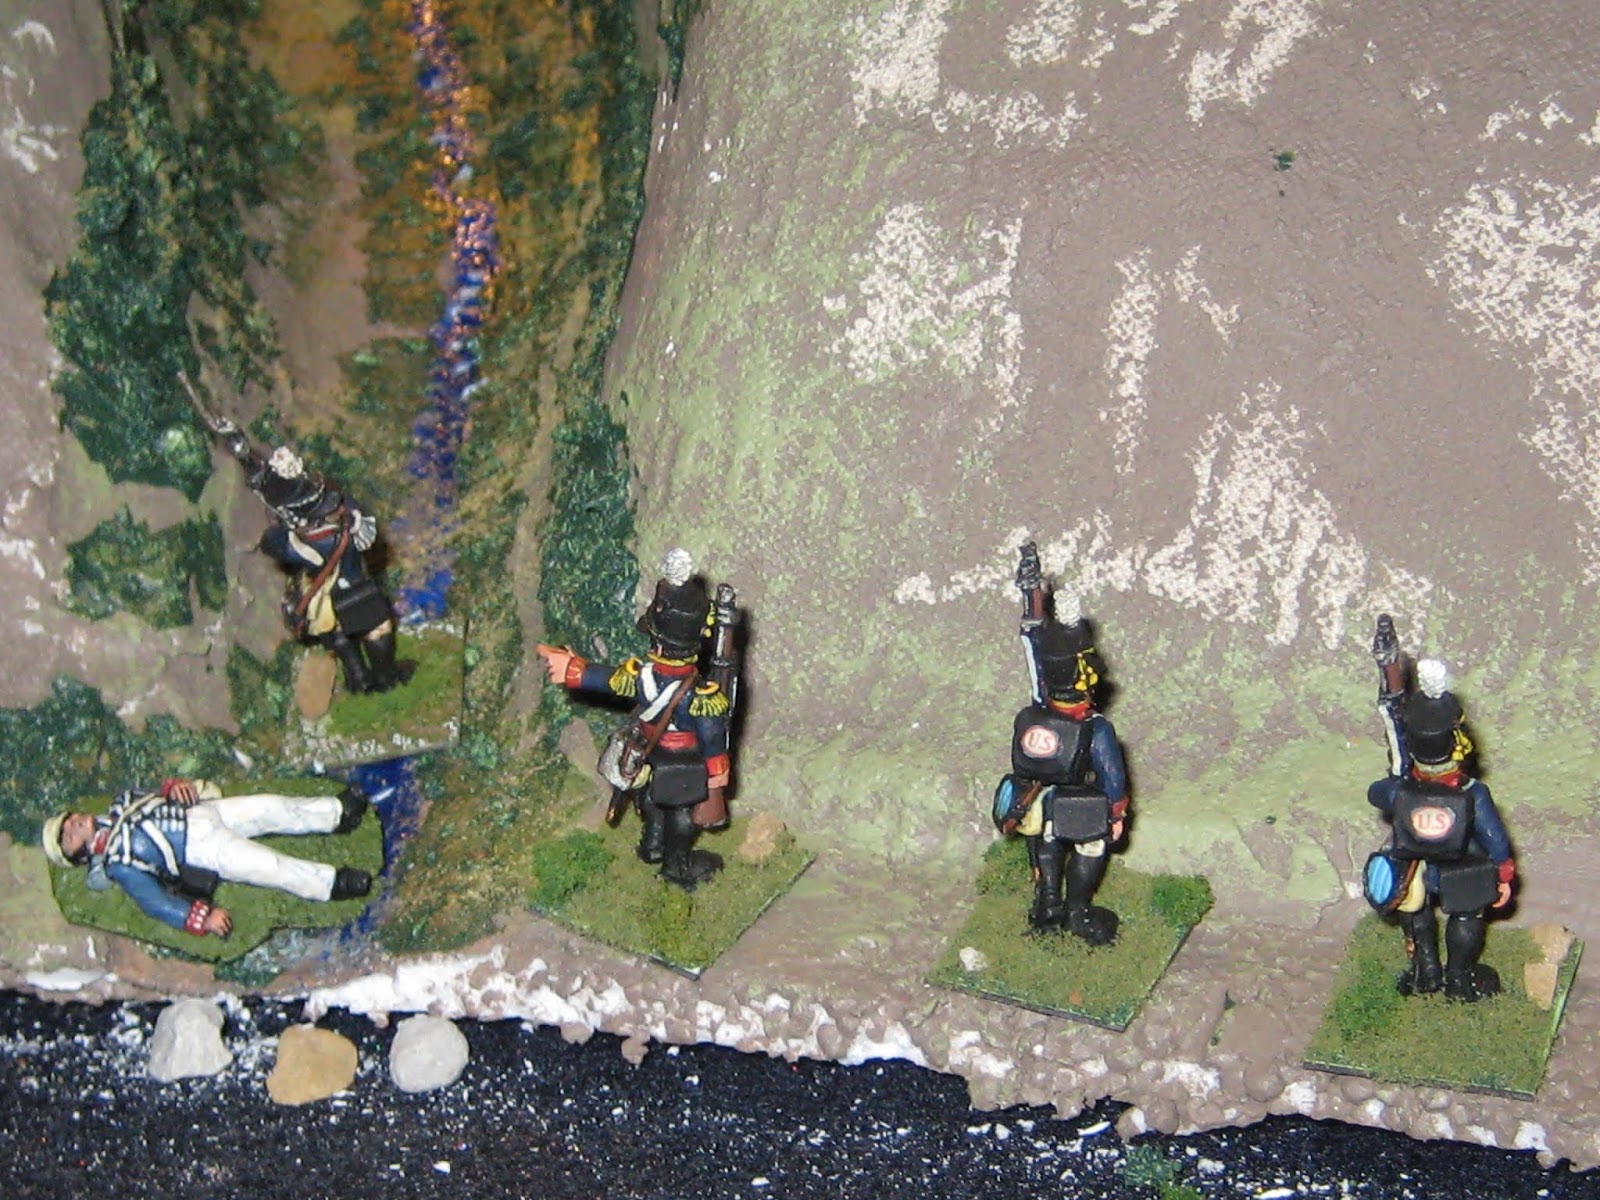
A close up of the Columbian Rifles (actually carrying muskets) who are keeping a watchful eye on the remnants of the British 1st Brigade.
A view of the remnants of 1st Brigade hunkered down around and in the mill.
A view of the Baltimore Hussars and Bladensburg troop about to run down the 4th Foot who are in RETREAT. Because the 4th are in RETREAT the melee would result in an automatic victory for the American cavalry and certainly causing three and possibly six casualties. The 4th would remain in RETREAT... but alas not enough time.
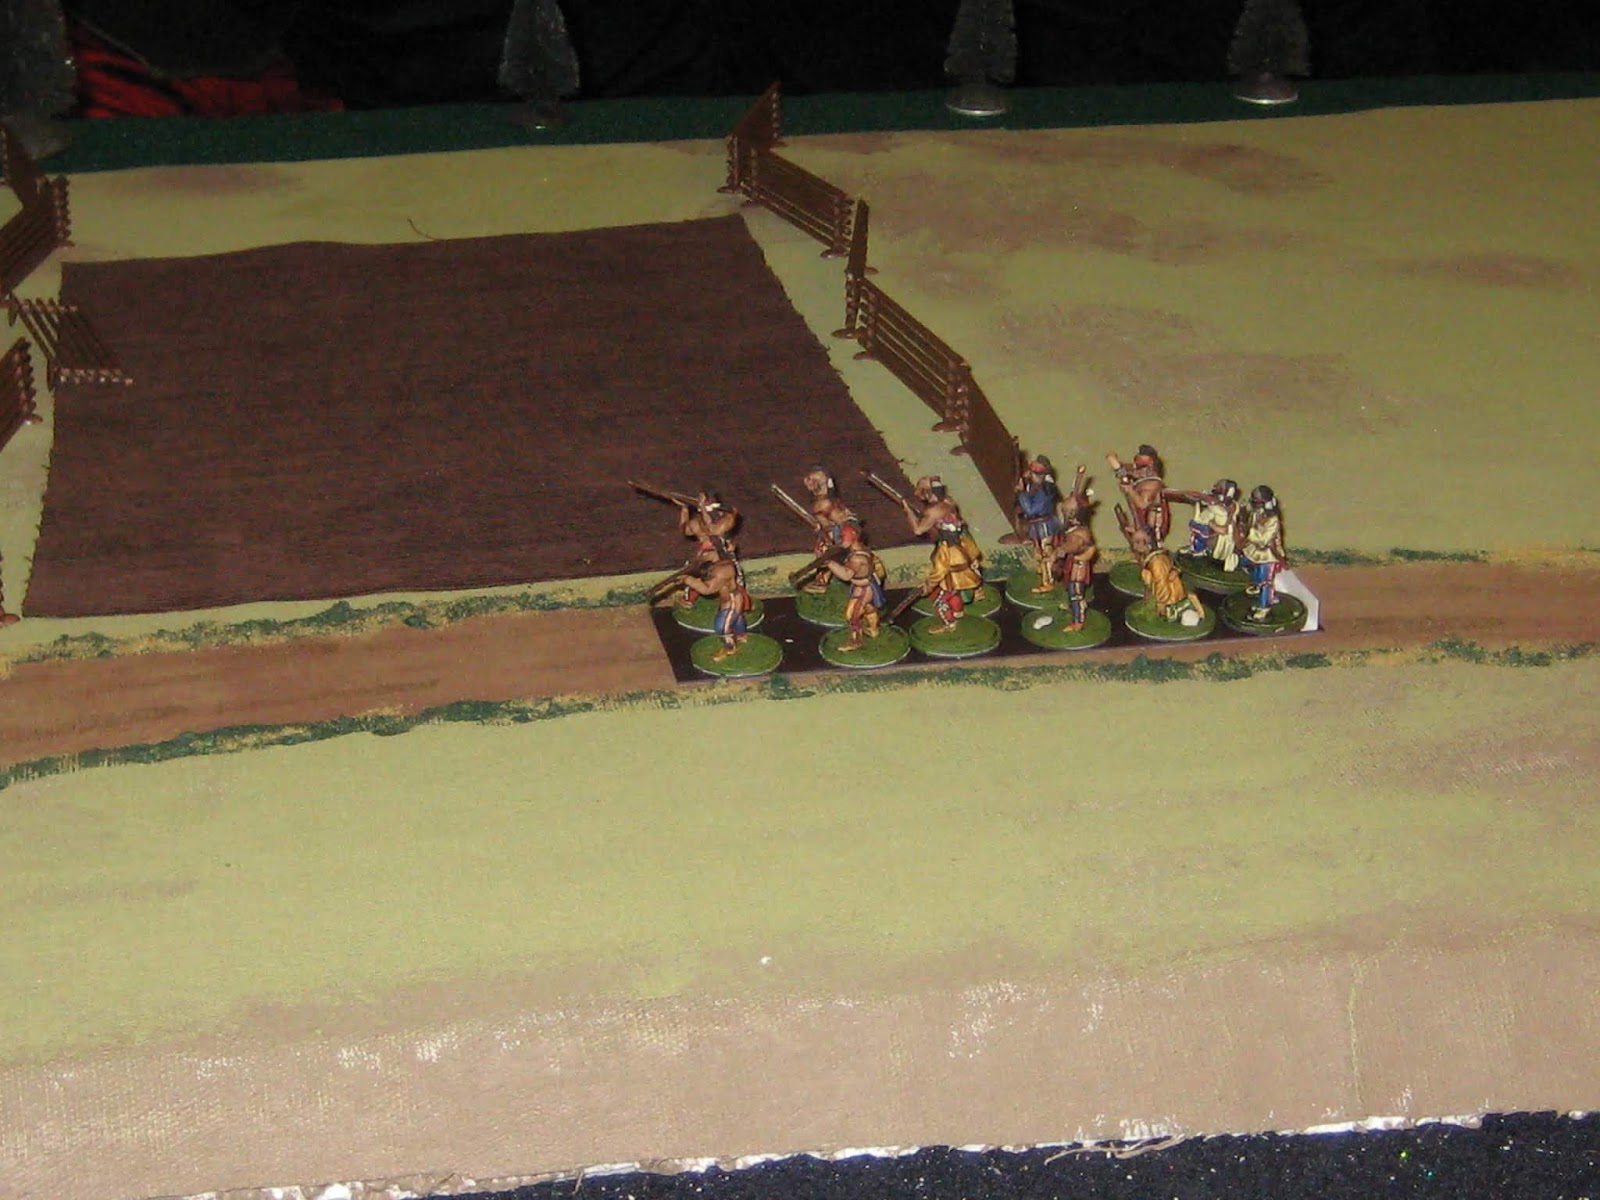
The rocket detachment and Cockburn's seamen and Colonial marines begin to cross Tourncliff bridge. This brigade might alter the balance if Barney's Brigade was not able to penetrate the British right flank. Nonetheless, it would have to face the firepower of an 18pdr, 2 x 12pdrs and 3 six pdrs.
The remnants of the 44th Foot who just below 50% strength and its brother regiment the 4th (to its right) who are about to be crushed by American cavalry. As stated at the beginning, this would generate a brigade morale check and possible British defeat.
At the conclusion of the 1740 hrs turn, we conducted an Army Falter Point check was required. The American's need a 6 or above to pass the Falter Point check. The FALTER Point modifiers produced an aggregate total of +2 (thank goodness for the remaining four American cavalry units that garnered 4 points). However, another bad roll gave the American's 3 plus the modifier of 2 = 5, which results in a "Defeat! "
So close, it was indeed an 'near run thing'.