Sixth and Final Session 25 June 2018
In the fifth session the British were making steady progress and disrupted Stansbury's first line. Nonetheless the Americans were holding their ground rather well. In this session the situation changed dramatically for the Americans.
We completed five turns from 1150 to 1630. The following photos represent the end state at 1630.
Mixed results for the rocket battery; one miss, one enemy hit with two casualties and a FALTER and one friendly hit with two casualties.
The sailor battalion has moved up to support the rockets and act as a reserve. In the mid distance is Admiral Cockburn and just beyond him are the Colonial Marines.
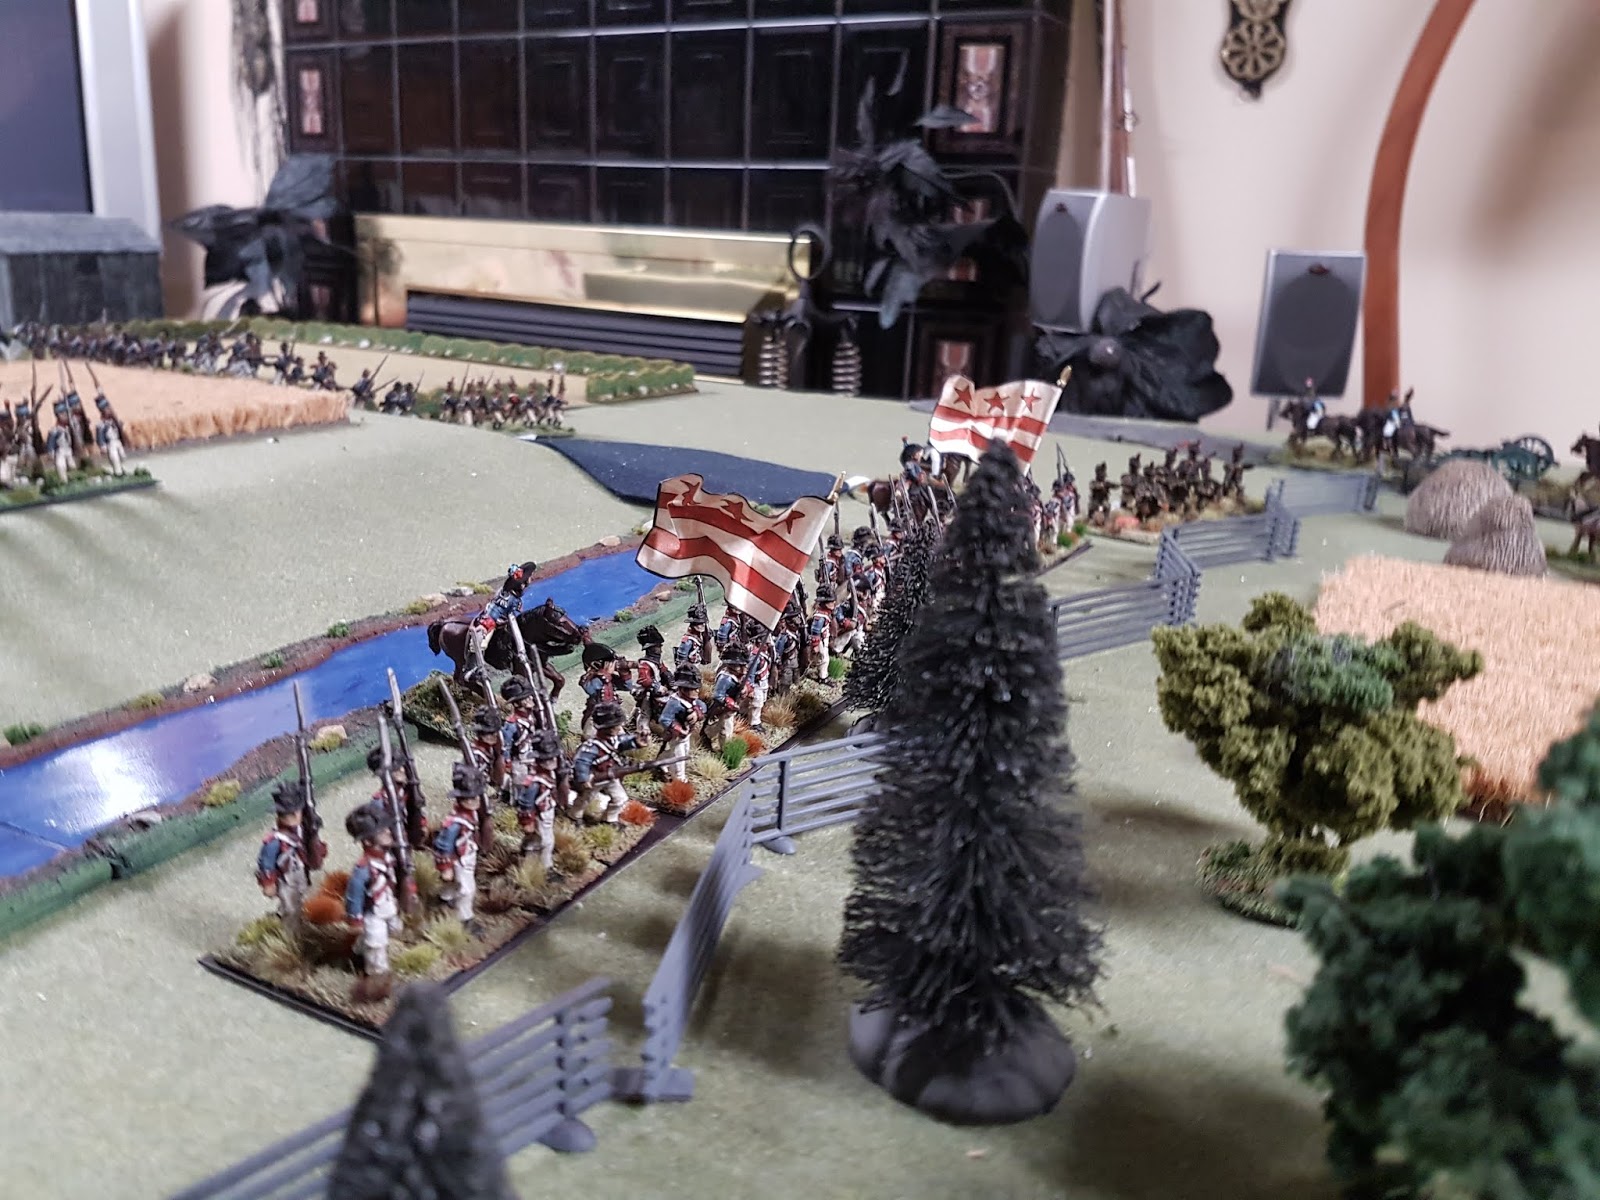
A surprise charge by the Virginia Light dragoons destroys a British six pounder gun team. It is now unformed and in the next turn will likely get nose full of 3 pdr (right mid behind the fence) canister.
On the British left flank , the Royal Marines get ready to cross the river to engage the Annapolis Rifles (equipped with muskets) and the 34th Maryland Regiment.
On the British left flank on the opposite side of the Washington Road from the RMs, the Washington Light Artillery battery dispersed on the 1600 turn. The path opened for the advancing British. Taking advantage the 21st Fusiliers continued their advance. The 21st (now in line) previously ROUTED one the few remaining Stansbury battalions and has just fired a devastating volley which caused the 17th Maryland Regiment (Annapolis Brigade) to FALTER
American civilians continue to watch the battle with some trepidation. Up until this session their fellow doodles had been holding up rather well.
The 85th Light Infantry and the Sappers anchor the right of the British line. The Fist or Light brigade is in a fragile state. The 85th must conduct a morale check every turn (<50% but > 35% casualties -a home rule modification) and so far the worst result was a RETREAT, which they have recovered from. What the American players did not know is that if either the 85th or the engineers were routed this would cause a Brigade Morale check and if they failed then the game was over and an American Victory would be awarded . This restraint was part of the British Scenario Briefing, which reflected the historical imperative. Namely, that Ross's army was a raiding force and he was under instructions not to get bogged down in a protracted conflict and to minimize casualties for the up coming New Orleans campaign.

The Maryland cavalry remain behind the hill in support of their fellow infantrymen. They have done a fine job of anchoring the American left flank and threatening any British attempt to advance.
The best American infantry on the field, the U.S. marines (left) and Commodore Barney's Flotilla-men (right). However, they have not seen any action in this game unlike their historical counterparts.
The remnants of Stansbury's broken brigade await further orders safely protected by Barney's Brigade.
Barney's guns wisely limber up in the face of a possible retreat or rout by the Second Columbian Regiment ahead of them (on the river bank) , who in turn are being assaulted by the British 4th Foot.
A view of the American left flank, which is solidly defended by Maryland Cavalry Brigade (left) , the Georgetown Light Artillery and First Columbian Regiment. These units successfully pinned what was left of the British Light Brigade at the mill.
Despite Standsbury's Brigade breaking and some of the Annapolis regiments FALTERING, the President and Secretary of State continue to offer 'stirring words'.
A gap has developed on the right center of the American, which the 21st Fusiliers (middle of photo) will likely exploit. However, it appears that the fresh 60th Virginia Regiment have moved to fill the gap and stabilize the American line.
An overview of the main battlefield looking towards Washington.
Even though the American Army had not reached the Army FALTER POINT, in the spirit of Brigadier-General Winder the American players declared defeat.
I thought this decision was premature as there were still five solid brigades in play. The Annapolis brigade was intact sustaining only a few casualties with two of the four Battalions in FALTER. Barney's Brigade (best brigade) had not seen action yet. The Maryland cavalry brigade sustained minor casualties and all four squadrons were intact. The Virginia Brigade (two units) was intact although the Virginia Dragoons, after destroying a British six pounder battery, were now facing canister from a British 3 pounder in the next turn; however, the 60th Virginia had not seen action yet. The Colombian brigade was the weakest of the five brigades. It had previously lost Washington Light Artillery and the 2nd Regiment had just sustained 20% casualties and was in in RETREAT. However, the Columbian Brigade was still a potent force with 2 Infantry Battalions, three guns and two companies of light infantry.
Commentary to be continued.